If you would like to present your mini-courses in an order and you would like to guarantee that your learners have to go with the order, in other words, learners need to follow the mini-course sequence you set, this is for you.
To realize this use-case, first, order your mini-courses in the same collection. To change the placement of a mini-course in the collection, drag the mini-course using the icon on top right end of your mini-course and drop it to its place.
After you finalize the sequence of mini-courses in your collection, go to “Overview” tab and turn on “Learners can proceed only sequentially” setting, as shown below.
After toggling on this setting, your learners will only be able to proceed to the next mini-course when they complete one.
Note: This setting is also present for mini-courses, so if you’d like your learners to follow the order of cards in your mini-course without wandering freely, turn it on in your mini-course settings.
Here’s how your collection of mini-courses look after toggling on this setting.
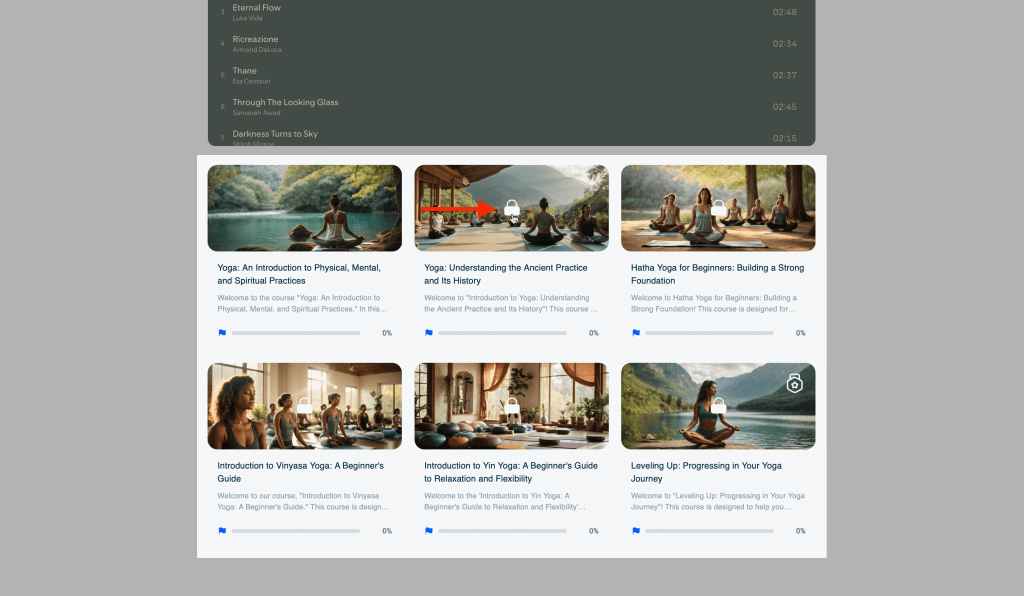
As shown in the image, a new learner will see all mini-courses in the collection except the first one with a lock icon, and clicking on the locked mini-courses will not open them, unless the unlocked mini-courses are completed.
If you’d like to give access to another collection when a mini-course or collection is completed, check our guide here.
Haven’t you signed up yet?
Join thousands of professionals in achieving more by creating mini-courses. Explore now!


