From adjusting the course title and uploading your logo to enhancing SEO and integrating advanced tools, Mini Course Generator provides a wide range of customization options. You can control how learners progress through your course, receive notifications when a course is completed, and even connect with external tools using web-hooks. With language support for 22 languages, you can also ensure your course is accessible to a global audience.
Let’s dive into how these settings can help you fine-tune your mini-course!
Settings #
To change the settings of your mini-course, click on “Settings” icon on top right end of your mini-course editor screen.
Basics #
Under this tab, you can change the title of your mini-course and upload a logo for your mini-course.
You can upload a logo from your device. Supported media formats for logos are PNG, JPG and GIF. We recommend the image size to be less than 1 MB for fast upload.
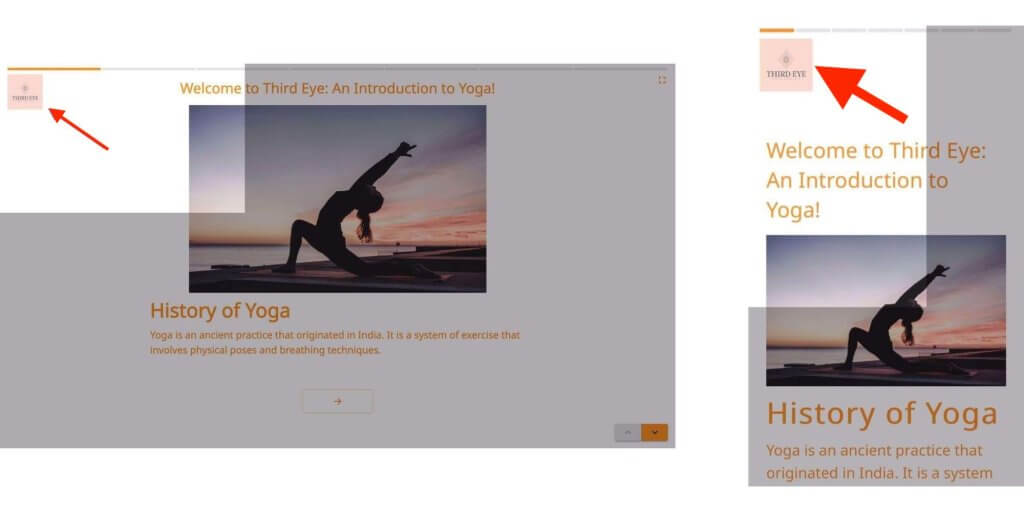
The first card layout shows your logo at the cover page of your mini-course, but it does not show your logo at each card. Whereas the second, third and fourth layouts show the logo you upload in every card of your mini-course in the learners’ interface, placed in your mini-course’s upper left corner on computer (image on the left) and mobile devices (image on the right).
SEO settings #
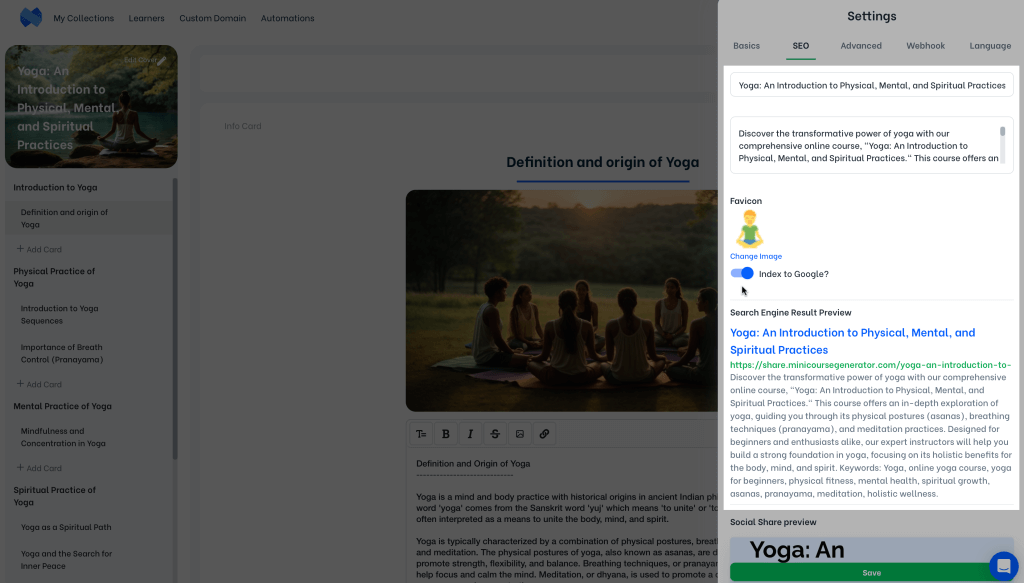
Under SEO settings tab, you can write a description text for your mini-course. This description text is also included in the head code of your mini-course as metadata to boost SEO performance.
Add a Favicon to your mini-course or turn on Google indexing for your mini-course here.
Check our SEO settings article for detailed information.
Advanced Settings #
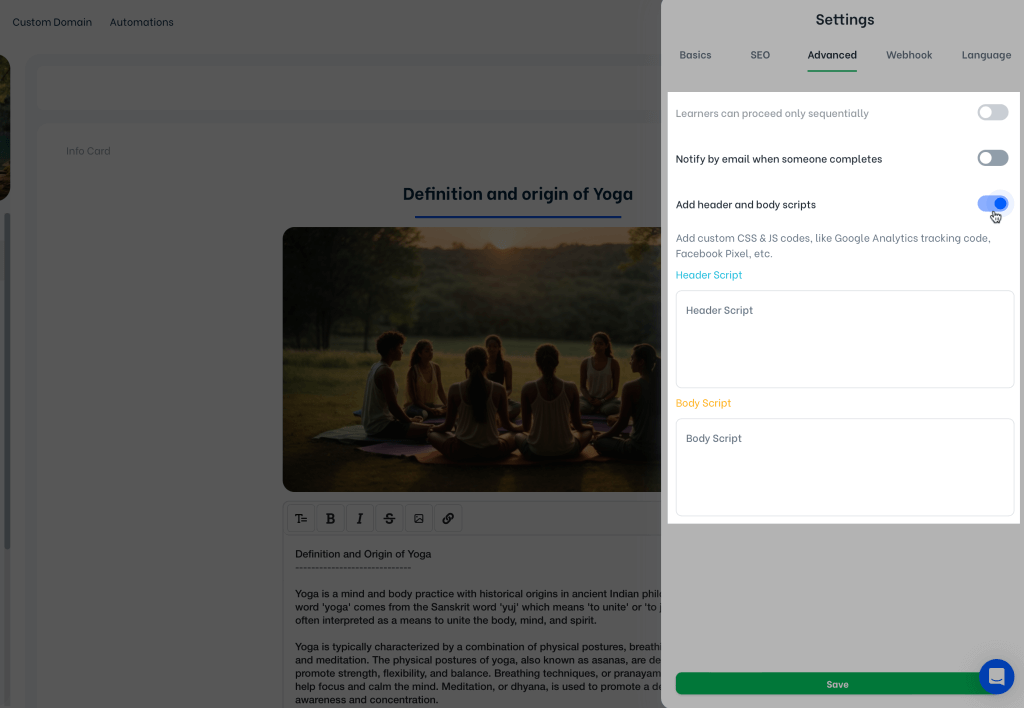
Under advanced settings, you can choose to restrict your learners to only proceed sequentially in your mini-course. When this setting is turned on, learners can’t wander freely in your mini-course, they have to follow the card order of the mini-course. To be able to turn this setting on, the Learners’ Access setting of the mini course’s collection must be a setting other than everyone can access.
If you’d like to be informed via email when a learner completes the mini-course, this setting can also be turned on here.
Add header and body scripts enable you to add custom CSS or JS codes for various purposes like adding an analytics platform, a monitoring tool, live chat, discussion forum, etc. For instance, it is possible to include tools like Google Analytics and Facebook Pixel in your mini-course via these fields.
Webhook #
Connect Mini Course Generator with other tools under this tab.
Mini Course Generator webhook pass the information of email address (username) of your learner and answers given to quizzes both when the response is given and when the mini course is completed.
To use this feature, after providing your endpoint URL, select the events and click on save.
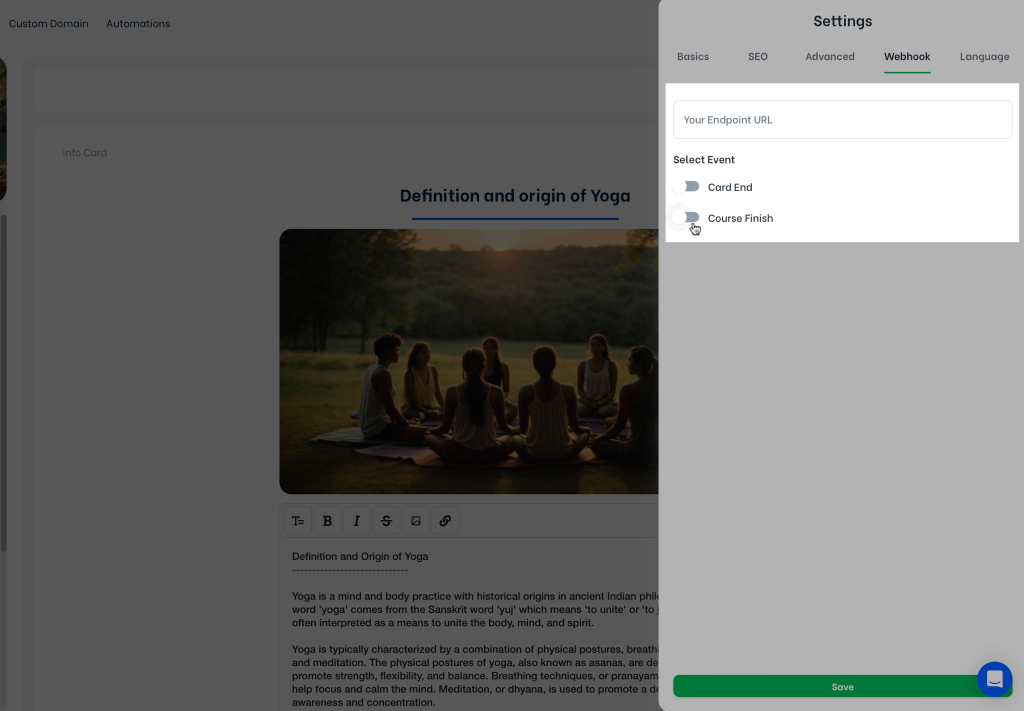
Here are details on How to Connect MCG with other tools.
Language settings #
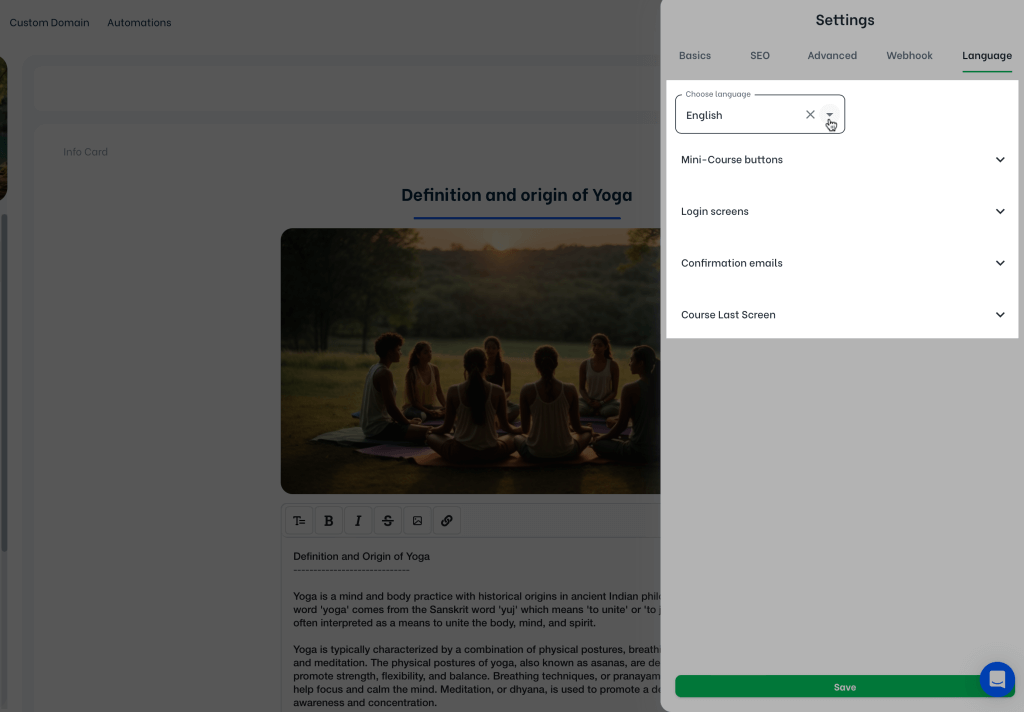
Mini Course Generator supports 22 languages besides English. The language setting of your mini-course translates the mini-course interface, sign up and payment experience of your learners as well as the access emails they receive.
Under language tab, you can find supported languages under “Choose language”. After choosing your mini-course language, you can further customize the text displayed on mini-course buttons, login screens, confirmation emails and mini course last screen.
