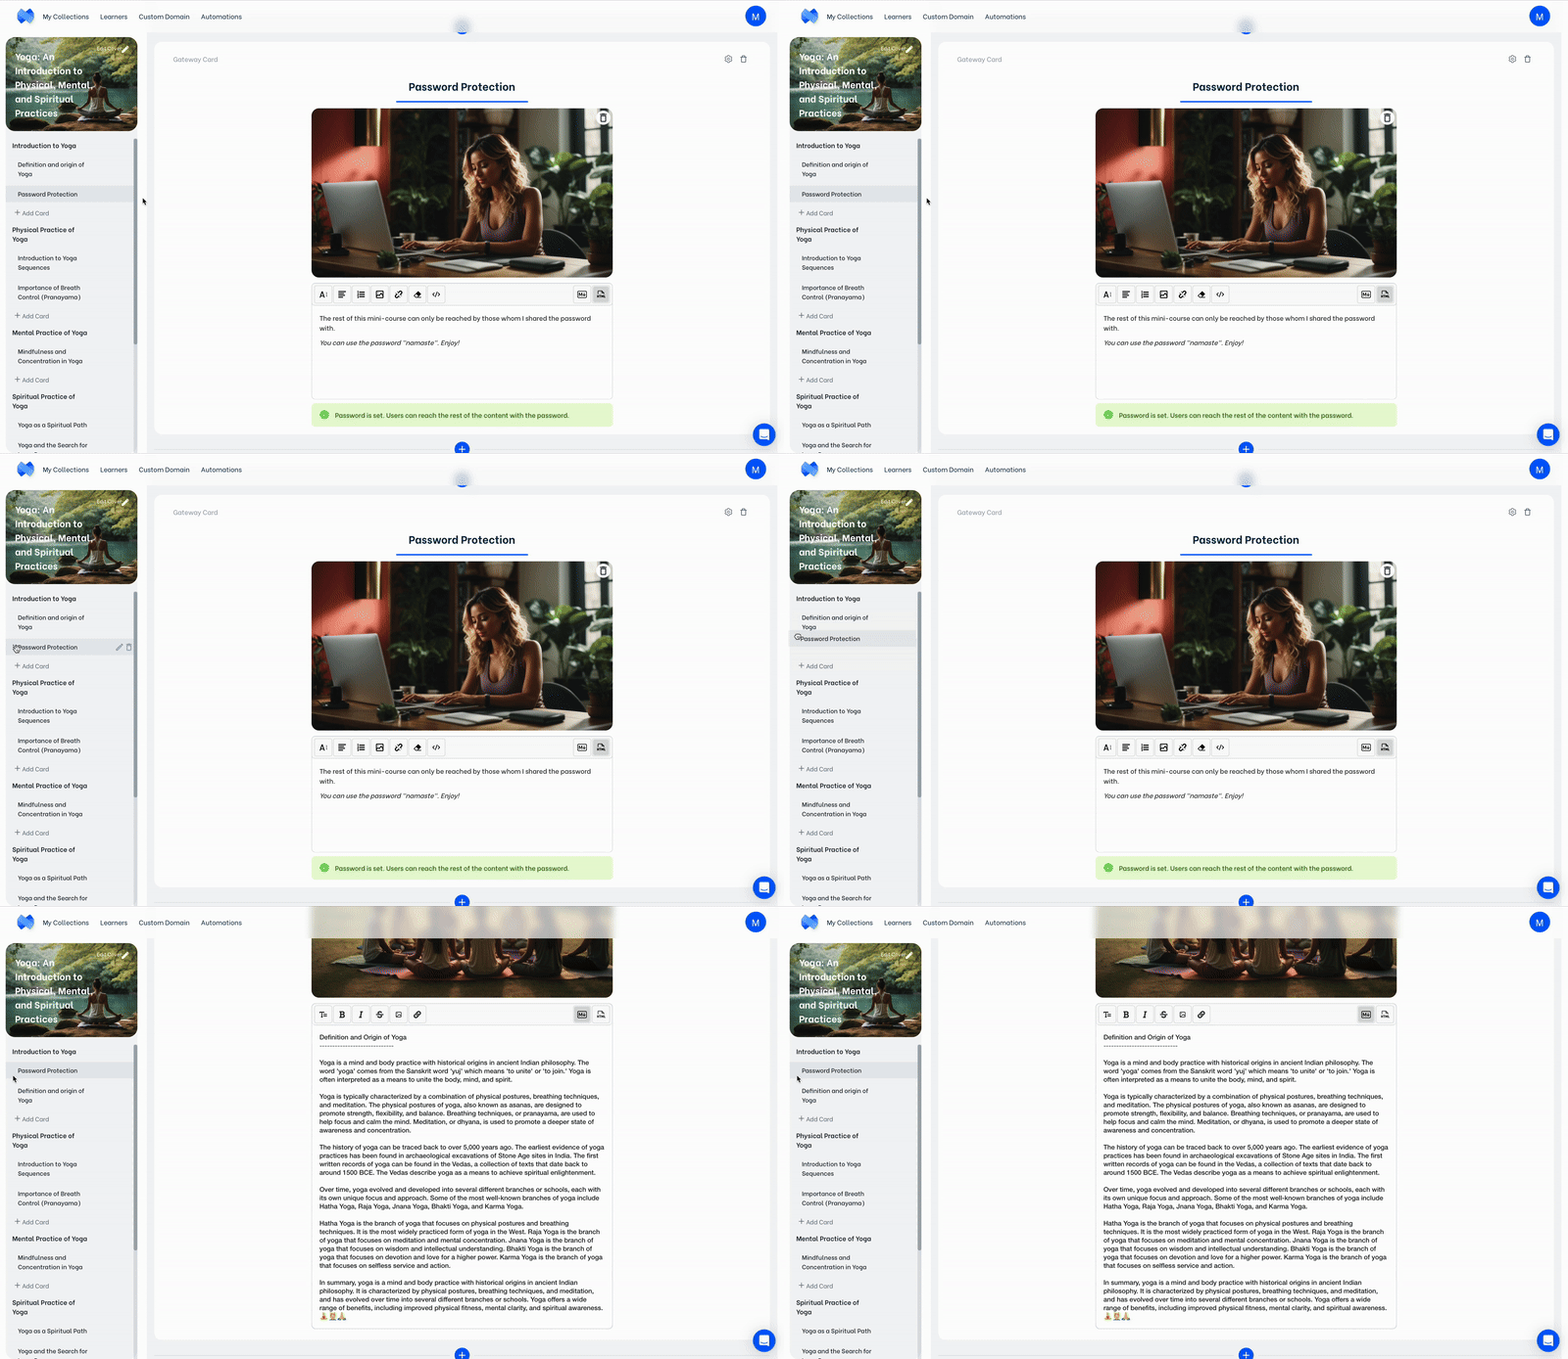
If you want your mini-course to be accessible by everyone without any login barriers but still wish to add a sense of privacy, you can add a password protection card to your mini-course.
To grant access after password verification:
- On your mini-course editor screen, add a new card and select “Password Protection” as the card type.
- Set the password using the settings icon in the upper-right corner.
Check our video guide below to see how:
You can use the settings button to change the password anytime. If you ever forget the password you set, click on the settings button and then the eye icon to see the password.
Later on, if you decide to not use the password-wall anymore, you can delete the password card by clicking on the trash bin icon on top right end of the card.
Password protection card content area is both a Markdown and an HTML editor, in which you can embed media. As it is with other card types, you can enhance your card content using images, videos, etc. Check details on how to embed media in your card here.
💡If you want to change your password wall’s order in your mini-course flow, you can simply drag & drop it using the navigation panel on the left. The password protection card only restricts access to the cards after it if your collection’s access setting is “Everyone can access”.

You can experience a sample password protected mini course by using the password “namaste” here.
💬 Note: While other gateway options affect the access settings of an entire collection, adding a password gateway is only applicable to individual mini-courses.


